In this post we will show you step by step process to Create a new Project in Angular. This will be helpful for the beginners who want to learn Angular from scrap to Create new angular App using Angular CLI. The Angular has come a long way since its started it journey from the first version as Angular 2. Now it is very easy to create new project as simple as installation of Angular CLI and running the ng new command.
Table of Contents
What is Angular CLI
Angular CLI helps us to create an Angular application with all the configuration files and packages using single command. Angular CLI also helps us to add features like Angular component, Angular directives and Angular services etc. to existing Angular Applications.
By using Typescript, webpack (for Module bundling), karma (for unit testing), Protractor (for and end to end testing) Angular CLI creates the Angular Application.
Lets see how to we can Create a new Angular project
Before starting lets setup some basic developer environment and install the required tools. It must be installed before stepping ahead with development.
- Visual Studio Code (You can use any editor of your choice)
- NPM Package Manager
Now lets Start Installing Angular CLI
Our first step will be to install Angular CLI. Npm install command is uses to install Angular CLI.
1 | npm install -g @angular/cli@latest |
The command we are using above given will install the latest version of Angular CLI in your machine. Point to be noted is we have used -g flag which stand for global is used to install Angular CLI system wide globally and It can we used in your all projects.
How to check Angular CLI Version
You can use ng –version to check the current installed Angular CLI version.
1 | ng --version |
How to install any specific version of Angular CLI
1 | Npm install -g @angular/cli@wished-version-name-here |
By using command above just putting version name in place of “wished-version-name-here” you can install your desired version of Angular CLI.
Creating a new Angular Application
It is now become very simple to create a new Angular project using Angular CLI. All you need to just run the given commands from the prompt
1 | ng new GettingStarted |
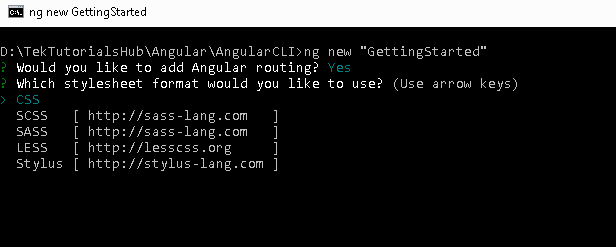
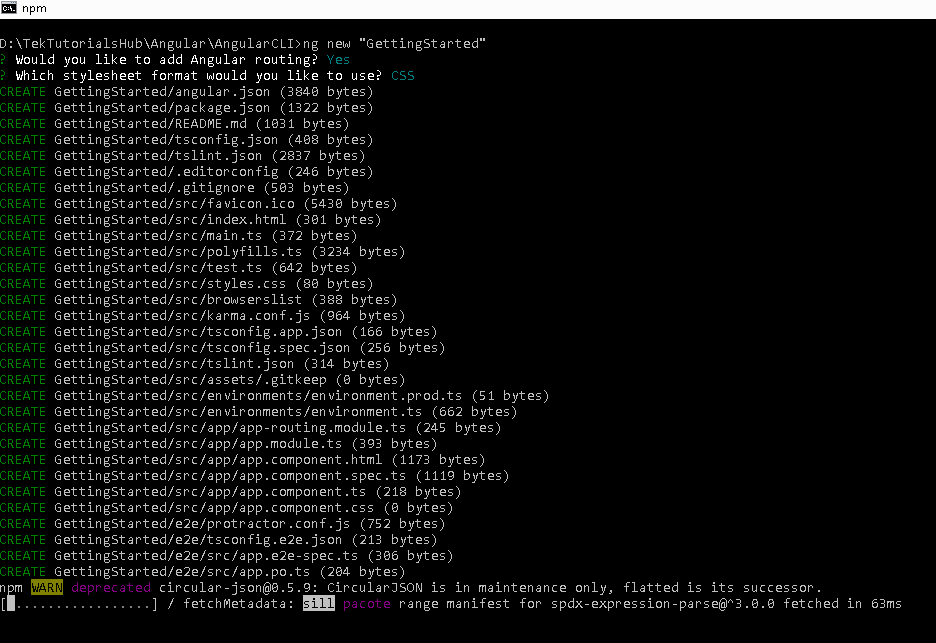
So here in this command I am naming my project as GettingStarted and by doing this it will create a folder of GettingStarted and will copy the all the required dependencies and configuration settings here. Lets find out what Angular CLI does after ng new command.
- Creates a new directory GettingStarted (which will be your project name).
- It will Setup the directory structure for the application
- Downloads and installs Angulara libraries and other dependencies
- Install and configures TypeScript
- Install and configures Karma and Protractor for testing
Note: Angular CLI will let you choose options for your project styling like CSS, SCSS, SASS, LESS and stylus. You can select any style method for your project.
And yes, one more important thing you can Migrate from CSS to SCSS stylesheets for an existing Angular Project, check here
Running your new Angular Project
Just type ng serve to command area to run your application
1 | ng serve |
The Angular command given above will invoke the Webpack development server. The server will keeps a watch on our project folder. Any changes to code compiles the project again.
We can also your npm start in place of ng serve works similarly.
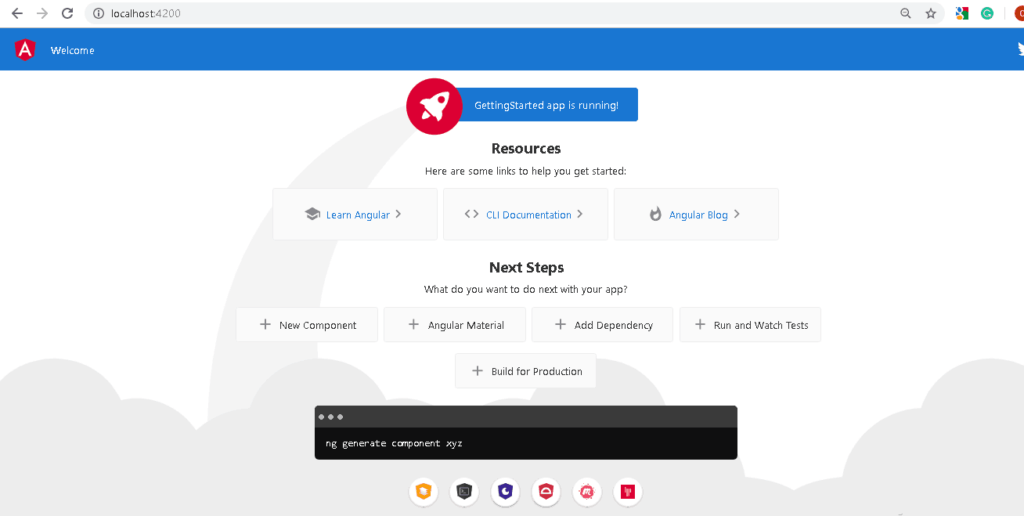
Web Development server listen on HTTP Port 4200 by default, Hence I will open in browser at http://localhost:4200/ and you will see Getting Started app is running here.

 by
by 